
In this blogpost you will learn how to make a loop in double braided rope, whether it is a synthetic double braided or a high performance jacketed rope. Follow our double braid eye splice instructions to create safe and well-structured eye loops.
To do that you will need the following eye splicing tools:


In this blogpost we will provide instructions about:
Firstly you need to take measurements on your double braided rope with your measuring tape and mark your spots accordingly. Distinguish S-strands from Z-strands as shown before in the measuring and preparation stage of our previous splicing article. Then mark the length of your eye loop adding some extra length for the splicing to take place.
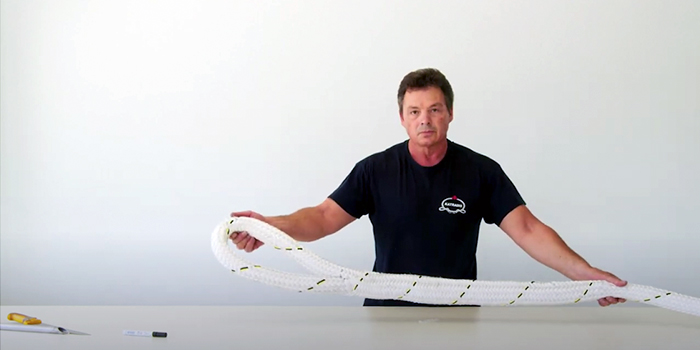
Unjacket the double braided rope and cut out some of its strands. Then tape the remaining strands and remove the core rope from its cover completely, as shown in the video above.
Now use the rod to insert the core rope back into its jacket, forming an eye loop. Make adjustments by pulling taped strands and reshaping the rope’s jacket.
When your double braided loop is well-adjusted, it is time to tuck in the rope’s cover into the eye loop. Tape the ending and then use the fid and the metallic rod to push the taped jacket into the core rope.
Remove the tape from the cover’s end part and cut out excessive cover strands using a knife and a cutting surface. Make adjustments and tape the jacket’s ending, right at the spot where your loop will be starting. Remove tape from the opposite end part and make final adjustments to the loop by pulling and stretching it to your side.

In the case of splicing a double braided high modulus rope, you will have to measure and mark your rope, just like explained at the synthetic rope splicing before. Identify S-strands and Z-strands and measure equally long parts of the rope to be spliced, besides the eye loop.
Uncover the core high modulus rope and cut the rope’s jacket carefully, keeping the core rope unharmed. Remove the excessive rope cover and start unbraiding it to the point of your taped marking. Tape the two jacket yarn endings into a pointy wind-up to prepare them for later splicing. Make a new marking after 7 braided strands on the core rope. Use the fid and the rod to splice both taped strands into the core rope.
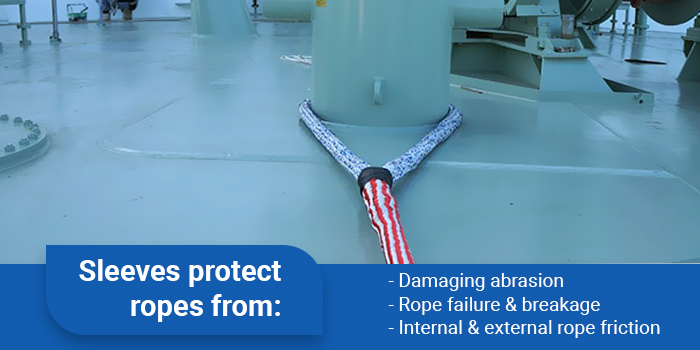
At this point we advise you to use protective sleeves for your rope. Protective sleeves extend the life cycle of high modulus ropes, since they absorb a great deal of rope-to-rope or rope-to-chock abrasion. You can use a metal hook rod to apply sleeves more efficiently.

Mark the rope at your sleeve’s end and start unbraiding the high modulus rope, dividing its strands by strand type. Tape all strand endings and start splicing them one by one at the other part of the eye loop starting with S-strands. Now turn the loop upside down to splice the Z-strands. Do the same for about 5-6 rounds of splicing.
Pull and adjust spliced strands and continue with the help of a fid, making the splicing process faster and easier, since now the core rope’s strands are getting tighter. Your high modulus core rope should look thicker now, as the splicing is coming to an end.
Splicing double braided rope without a fid is possible, but it takes longer and requires more effort to splice.
Cut out remaining strands and use the fid and rod technique to insert the unbraided jacket strands into the newly spliced core rope.
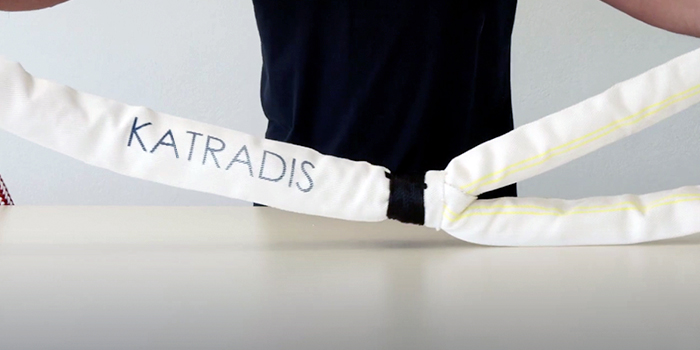
Cut out the rest overhanging cover strands and adjust the spliced eye loop. Use the tape once again to bond the spliced rope part and the eye loop with its protective sleeve.
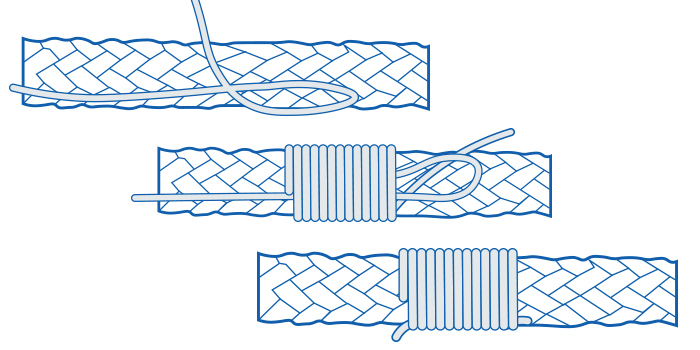
Bring up the protective sleeve of the conjunction point and join the two sleeves together with a twine loop of approximately 1.5m. Watch below the steps of making a twine loop:

After completing the twine loop at the conjunction point, your high modulus eye splice should look like this:

For a nylon rope you have to push the taped jacket into the core rope, and then pull and stretch the loop to adjust it. For a high modulus rope you end the eye splicing with a twine loop to create a secure and tight conjunction between the eye loop and the rest of the rope.
Read more about splicing on our how to make an eye-spliced rope blogpost for single braided ropes (nylon, mixed and high modulus).
If you have questions about mooring tail connection, breaking load, and tail configurations, read our complete Mooring Tails user’s manual:
If you plan to add a thimble in your eye splice, there are some things to consider and calculate. First things first, the thimble’s diameter has to be the same as your rope’s, so that it fits perfectly in your eye loop. Usually you have to measure five times the thimble in rope length before starting to splice. When the splicing is complete, smooth it down with your hands and pull the strands to tighten the final eye splice.
Besides marine use, thimble ropes are used for structure with-holding or rigging purposes usually combined with shackles and wire ropes. They protect ropes from abrasion, especially when there is contact with rough or jagged surfaces.
Learn how to perform wire rope inspections and maintenance intervals to avoid extensive abrasion spreading to your wire ropes.
Katradis SA is an established manufacturer of marine supplies – especially marine ropes – with a strong presence in the marine industry since 1936. Our extensive global network of affiliated establishments, agents, suppliers and representatives ensures immediate service at all major ports around the world.
Follow our social media pages on Facebook, Instagram and LinkedIn and keep in touch with us to learn more on our products and marine solutions. Our research and development departments are constantly seeking new materials and optimum production processes so that we can offer you the highest product quality possible.